By Dan Gold · Sources reviewed
Whitening Grout Lines
Assess dirty or damaged grout, clean it safely, and use compatible grout colorant when a surface color refresh is appropriate.
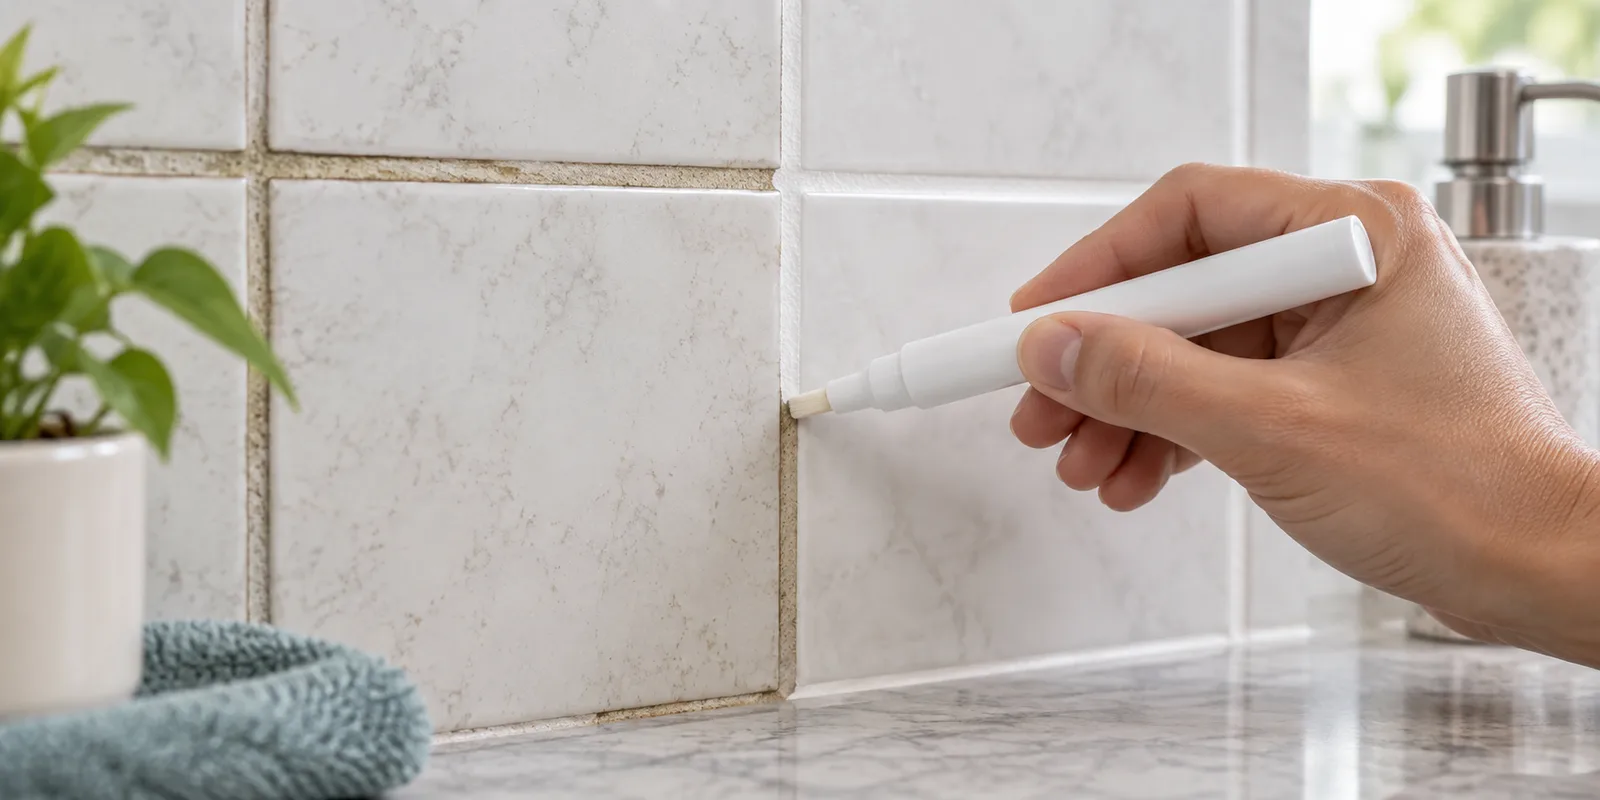
A grout colorant or pen can improve the appearance of intact, compatible grout. It will not repair cracked joints, loose tile, moisture damage, or failed shower waterproofing.
Prepare and apply
- Inspect the joints. Resolve active leaks and loose or missing grout first; colorant should not hide those problems.
- Identify the grout, tile, and any sealer. Choose a product approved for them and for the area, especially a wet shower or natural stone.
- Clean using the colorant maker’s preparation method. Remove residues and let the joints dry as directed.
- Test a small inconspicuous area for color, adhesion, and safe cleanup on the tile.
- Apply thinly to the grout, cleaning excess from tile within the product’s working time. Do not paint silicone caulk as if it were cement grout.
- Keep water and traffic off for the stated cure period. A surface that feels dry may not yet be ready for a shower.
Check the result
After the full cure, look for even coverage and adhesion. Peeling suggests incompatible material or poor preparation. Repeated staining or growth calls for a moisture investigation rather than another layer of colorant.
Record the product and application date so future cleaning follows its care requirements.
Sources and scope
These references support the guidance above. Source review is not a hands-on test of your home or a certification of a product. Follow the instructions for your exact model and local requirements.
Related reads and checklists
Bathroom Remodel Planning
Plan the perfect sanctuary. A roadmap to navigating layouts, materials, and plumbing for a successful renovation.
BlogDescaling Your Showerhead
Clear approved showerhead mineral deposits, protect the finish, and distinguish blocked jets from a wider pressure problem.
BlogHard Water Faucet Rescue
Soaking aerators to remove calcium buildup and straighten out water flow.
ChecklistKitchen Remodel Planning
Design the heart of your home. Critical decisions for layout, cabinetry, and appliances to avoid costly changes later.