By Dan Gold · Sources reviewed
Check Outdoor Spigots (and Hoses)
Locate an outdoor-faucet leak, identify the model-specific repair, and winterize hoses without forcing a stuck valve.
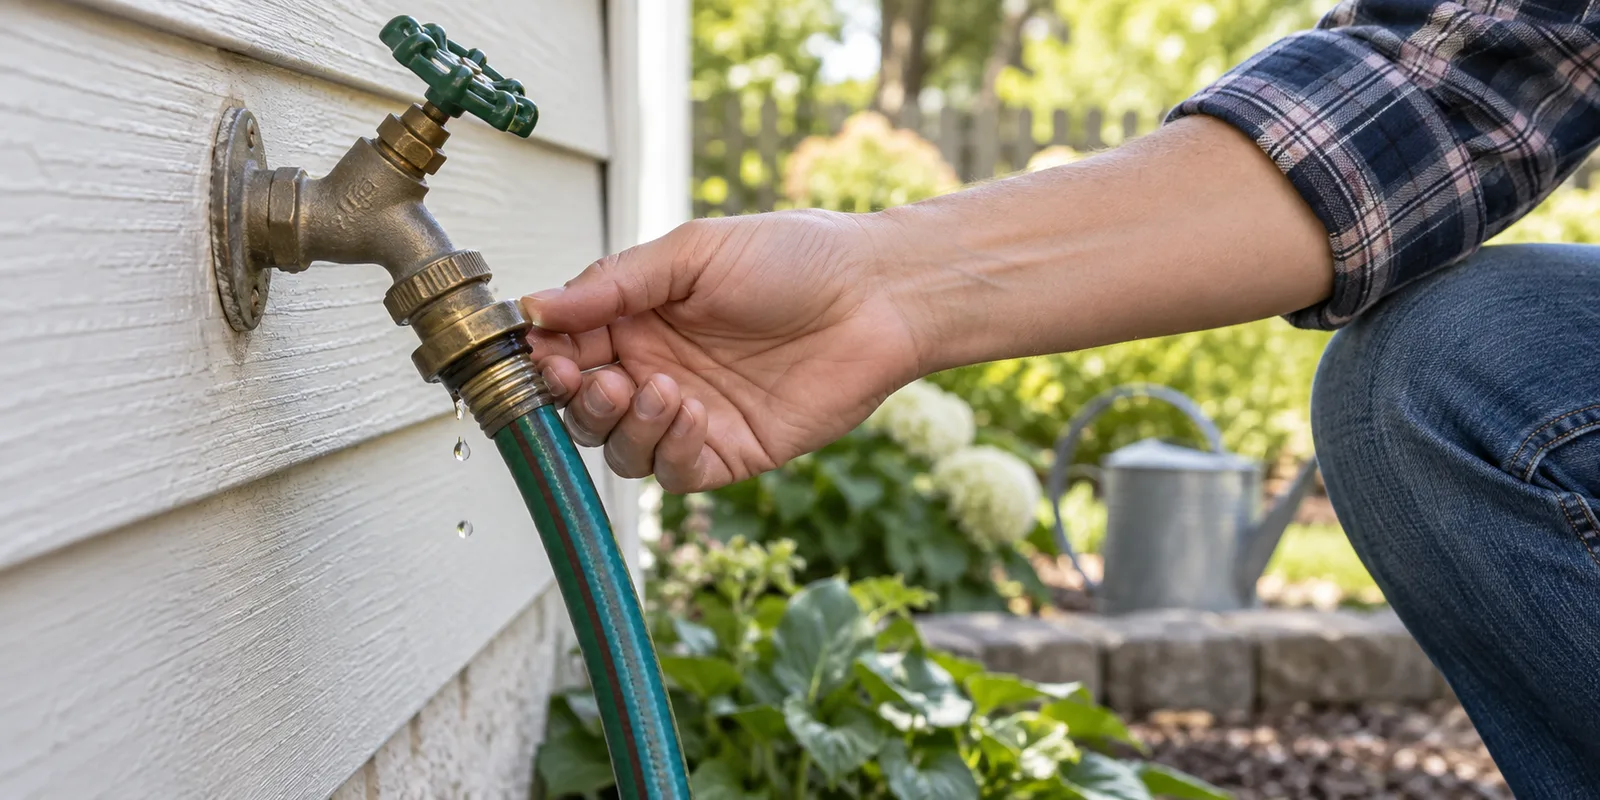
First identify where an outdoor faucet leaks: the spout, handle, vacuum breaker, hose connection, or wall. These locations need different repairs; replacing a washer is not a universal fix.
Inspect and isolate
- Remove the hose and check its washer separately. Turn the faucet on briefly and look for leaks around the handle, top cap, and wall.
- Turn it off gently. On a frost-free faucet, a short period of drainage may be normal. Persistent dripping needs investigation.
- Photograph the brand/model and leak location. Match the repair kit to that faucet. Do not remove the packing nut or stem with the water supply on.
- If undertaking a repair permitted by the model instructions, close the appropriate supply valve and open the faucet to confirm water stops before disassembly. Use a plumber for a stuck valve, corroded body, or leak in the wall.
Prepare for freezing weather
Disconnect, drain, and store hoses. Follow the faucet’s winterizing instructions; where an indoor isolation valve exists, shut it and drain the outdoor section as directed. Frost-free operation depends on correct installation and drainage.
Check the result
After reassembly, open the supply slowly and inspect all joints both while running and after shutoff. A vacuum breaker may vent briefly during normal use; persistent leakage needs the correct diagnosis, not a generic screw-on replacement.
Sources and scope
These references support the guidance above. Source review is not a hands-on test of your home or a certification of a product. Follow the instructions for your exact model and local requirements.
Related reads and checklists
Fall and Winterizing Checklist
Prepare your home for the cold. A complete guide to sealing leaks, servicing heating systems, and preventing freeze damage.
ChecklistPool Opening Checklist
Plan a pool opening with equipment checks, water testing and chemical-label guidance, and know when to stop for qualified help.
BlogClean Gutters with a Leaf Blower
Assess whether ground-based gutter attachments suit your home, clear accessible debris safely, and check downspout flow.
BlogDoes Peppermint Repel Spiders? Use These Steps Instead
Peppermint spray is not a dependable spider barrier. Use web removal, clutter control, screens, and gap sealing instead.