Whole Home Plumbing Audit
Catch leaks before they become floods. A systematic check of taps, traps, and tanks to ensure water stays in the pipes.
By Dan Gold · Sources reviewed
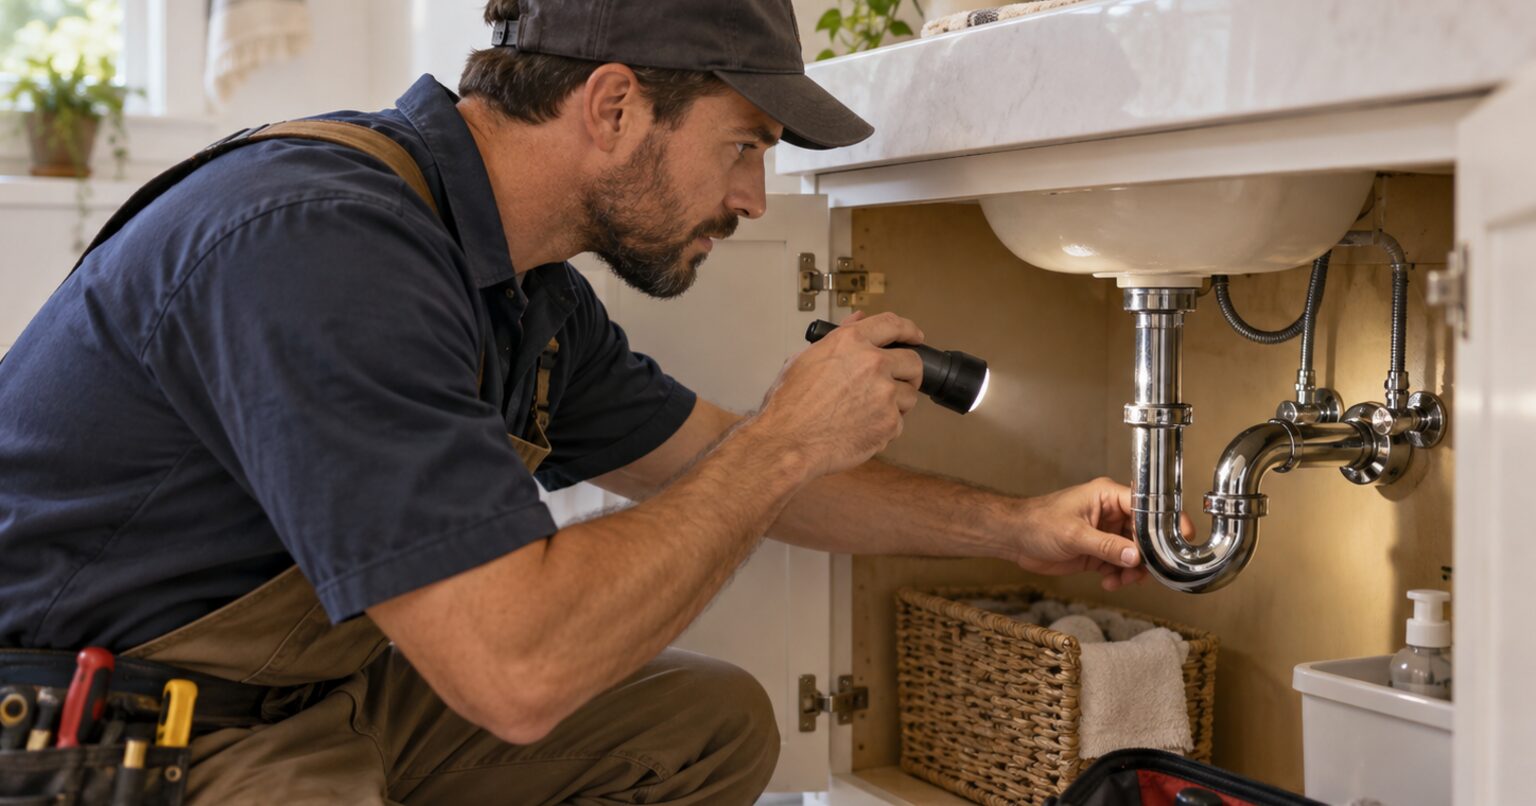
Start with observation, a flashlight and a dry paper towel. Identify shut-offs before any repair. This audit does not replace a plumber’s inspection or authorize opening a water heater.
Work through the checklist
- Under sinks: Clear storage, run water and inspect supply joints and trap for drips. Photograph corrosion; do not automatically tighten an unknown fitting.
- Toilet supplies: Check the hose, shut-off and floor for corrosion or moisture. Replace damaged parts using the correct model/fitting instructions or a plumber.
- Tank leaks: Run a ten-minute dye test and flush afterward. Inspect the chain, seal and overflow before selecting a repair.
- Water heater: Record model, installation/service dates and any leakage. Schedule manufacturer-required maintenance; flushing requires model-specific power, cooling, refill and restart steps.
- Main valve: Locate and tag the private shut-off. Test gently only if serviceable; confirm cold-water flow stops and reopens without leakage.
- Sump pump: Follow the model’s safe water-test procedure without reaching into powered equipment. Verify discharge and backup status.
- Washer hoses: Inspect for bulges, cracks and loose connections. Choose approved replacements and their service interval; braided hoses are not failure-proof.
- Outdoor faucet: Remove the hose, identify the leak location and check for leakage inside while running. Winterize according to its design.
- Aerators: Clean only removable approved parts using the right key and cleaner; inspect stream and fitting for leaks afterward.
- Shower joints: Look for gaps, loose tile and water damage. Replacing surface caulk does not repair failed waterproofing behind tile.
Progress is saved in this browser. Revised tasks start a new checklist.
Check the result and follow up
Record each location and result; isolate an active leak if you can safely operate its valve. Multiple backed-up drains, sewage, a leaking tank, or a valve that cannot close needs professional attention. Recheck every disturbed fitting both immediately and later. Do not call the system leak-free based on one quick visual pass.
Sources and scope
These references support the guidance above. Source review is not a hands-on test of your home or a certification of a product. Follow the instructions for your exact model and local requirements.
Did this help?
Get more simple guides like this in your inbox.
Related reads and checklists
Silencing a Running Toilet
How to check the chain and flapper before calling a plumber.
BlogThe Food Coloring Toilet Test
Use a ten-minute dye test to find a toilet tank leak, interpret the result, and retest after the correct repair.
ChecklistBathroom Remodel Planning
Plan the perfect sanctuary. A roadmap to navigating layouts, materials, and plumbing for a successful renovation.
ChecklistAppliance Deep Clean Checklist
Extend the life of your major appliances and improve safety with this deep cleaning routine.